Reef School
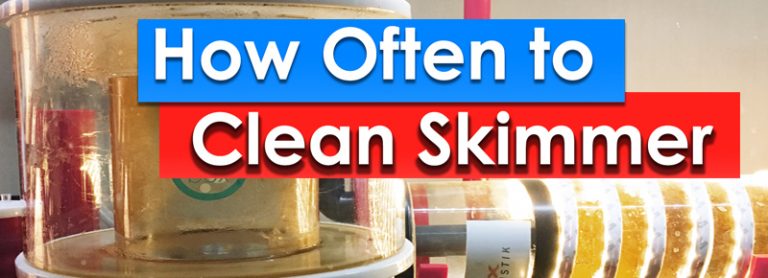
AskReefDudes: How often to Clean your Skimmer Cup
Roy writes in and asks “Some protein skimmer manufacturers say clean the collection cup weekly, and some say every 2 […]
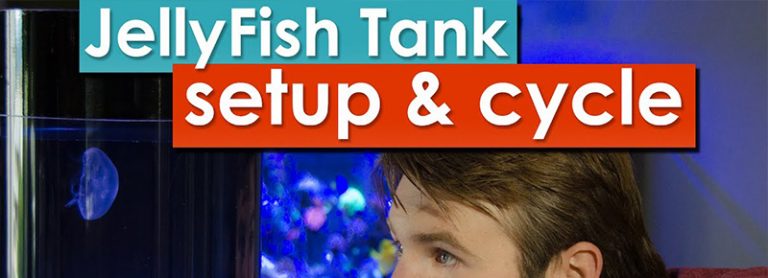
JellyFish Art Tank Setup and cycling – JellyFish Ep1
A Desktop Jellyfish tanks provide a beautiful environment in any room. Jellyfish can be very easy to keep providing you […]
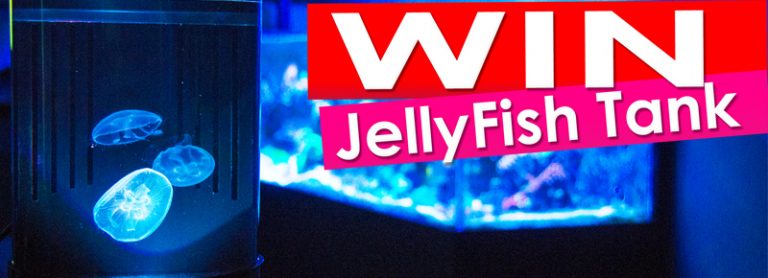
Do you want to Win a JellyFish Tank?!
The ReefDudes YouTube channel has hit 1k subscribers!!!! To celebrate I wanted to thank everyone who has supported me by […]
How do you raise PH in a saltwater aquarium – AskReefDudes
What exactly is PH? PH is the measure of relative concentration of hydroge ions and Hydroxyl Ions in your aquariums […]
Nitrogen Cycle Explained and made Simple
Adding fish to an uncycled aquarium is like breathing in toxic chemicals.. which is why it is Essential that every […]
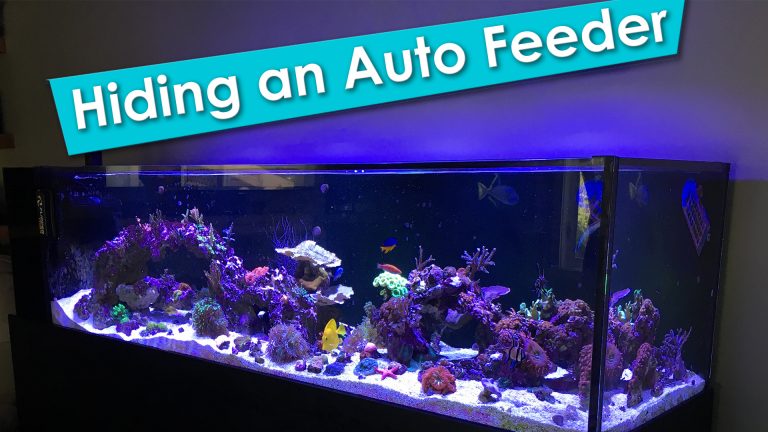
Hiding your Aquariums Auto Feeder
An aquarium is a living piece of art and should be keep aesthetically pleasing inside and out. Nothing runs that beauty […]
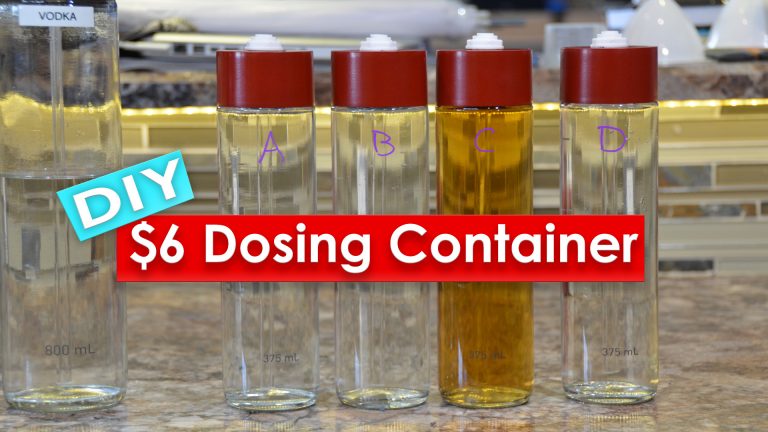
$6 DIY Dosing containers
A true reefjunkie will try and make his sump and filtration just as nice as his display tank.. after all […]
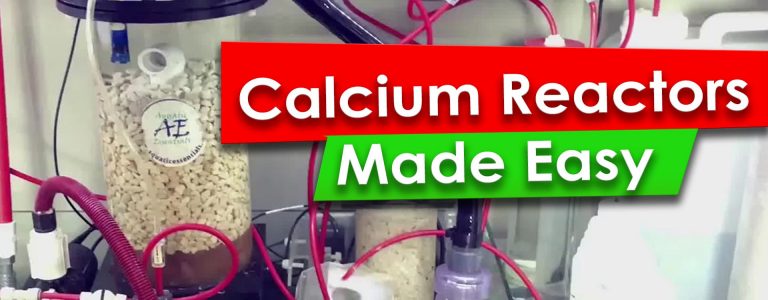
How Calcium Reactors work
Calcium Reactors sound big and scary.. however they can actually be quiet simple once you understand how they work. At […]
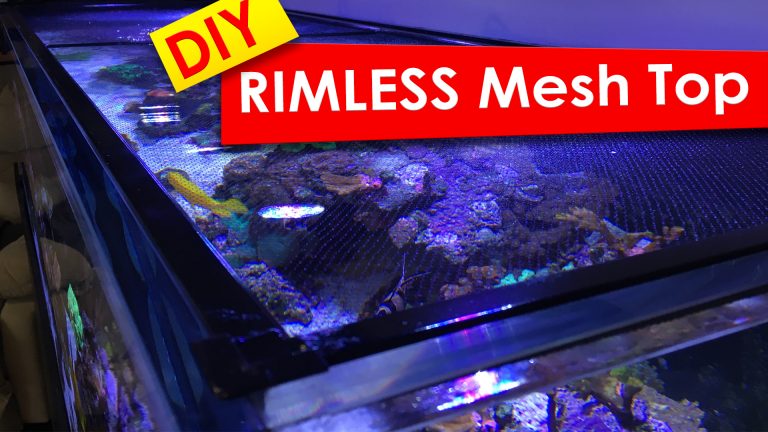
DIY Mesh Screen top for rimless tanks
After having both my blue jaw trigger fish and blue line damsel jump multiple times I figured it was time […]

Evergrow Nova S2: Explosive Cheato Growth
After over a year of running a fugeless tank.. i finally decided to add one in efforts to raise my […]